Over the past three years, my housemate Ted has been acquiring more and more Lodge cast iron cookware. The collection has grown to about a dozen different pieces, from chicken fryer to wok. The latest addition is an obscure and extremely specific piece of cookware called a Danish æbelskiver pan.
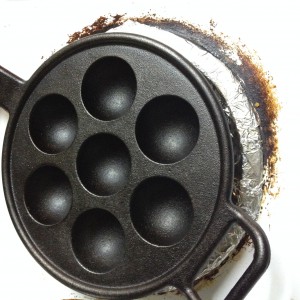
Aebelskiver Pan
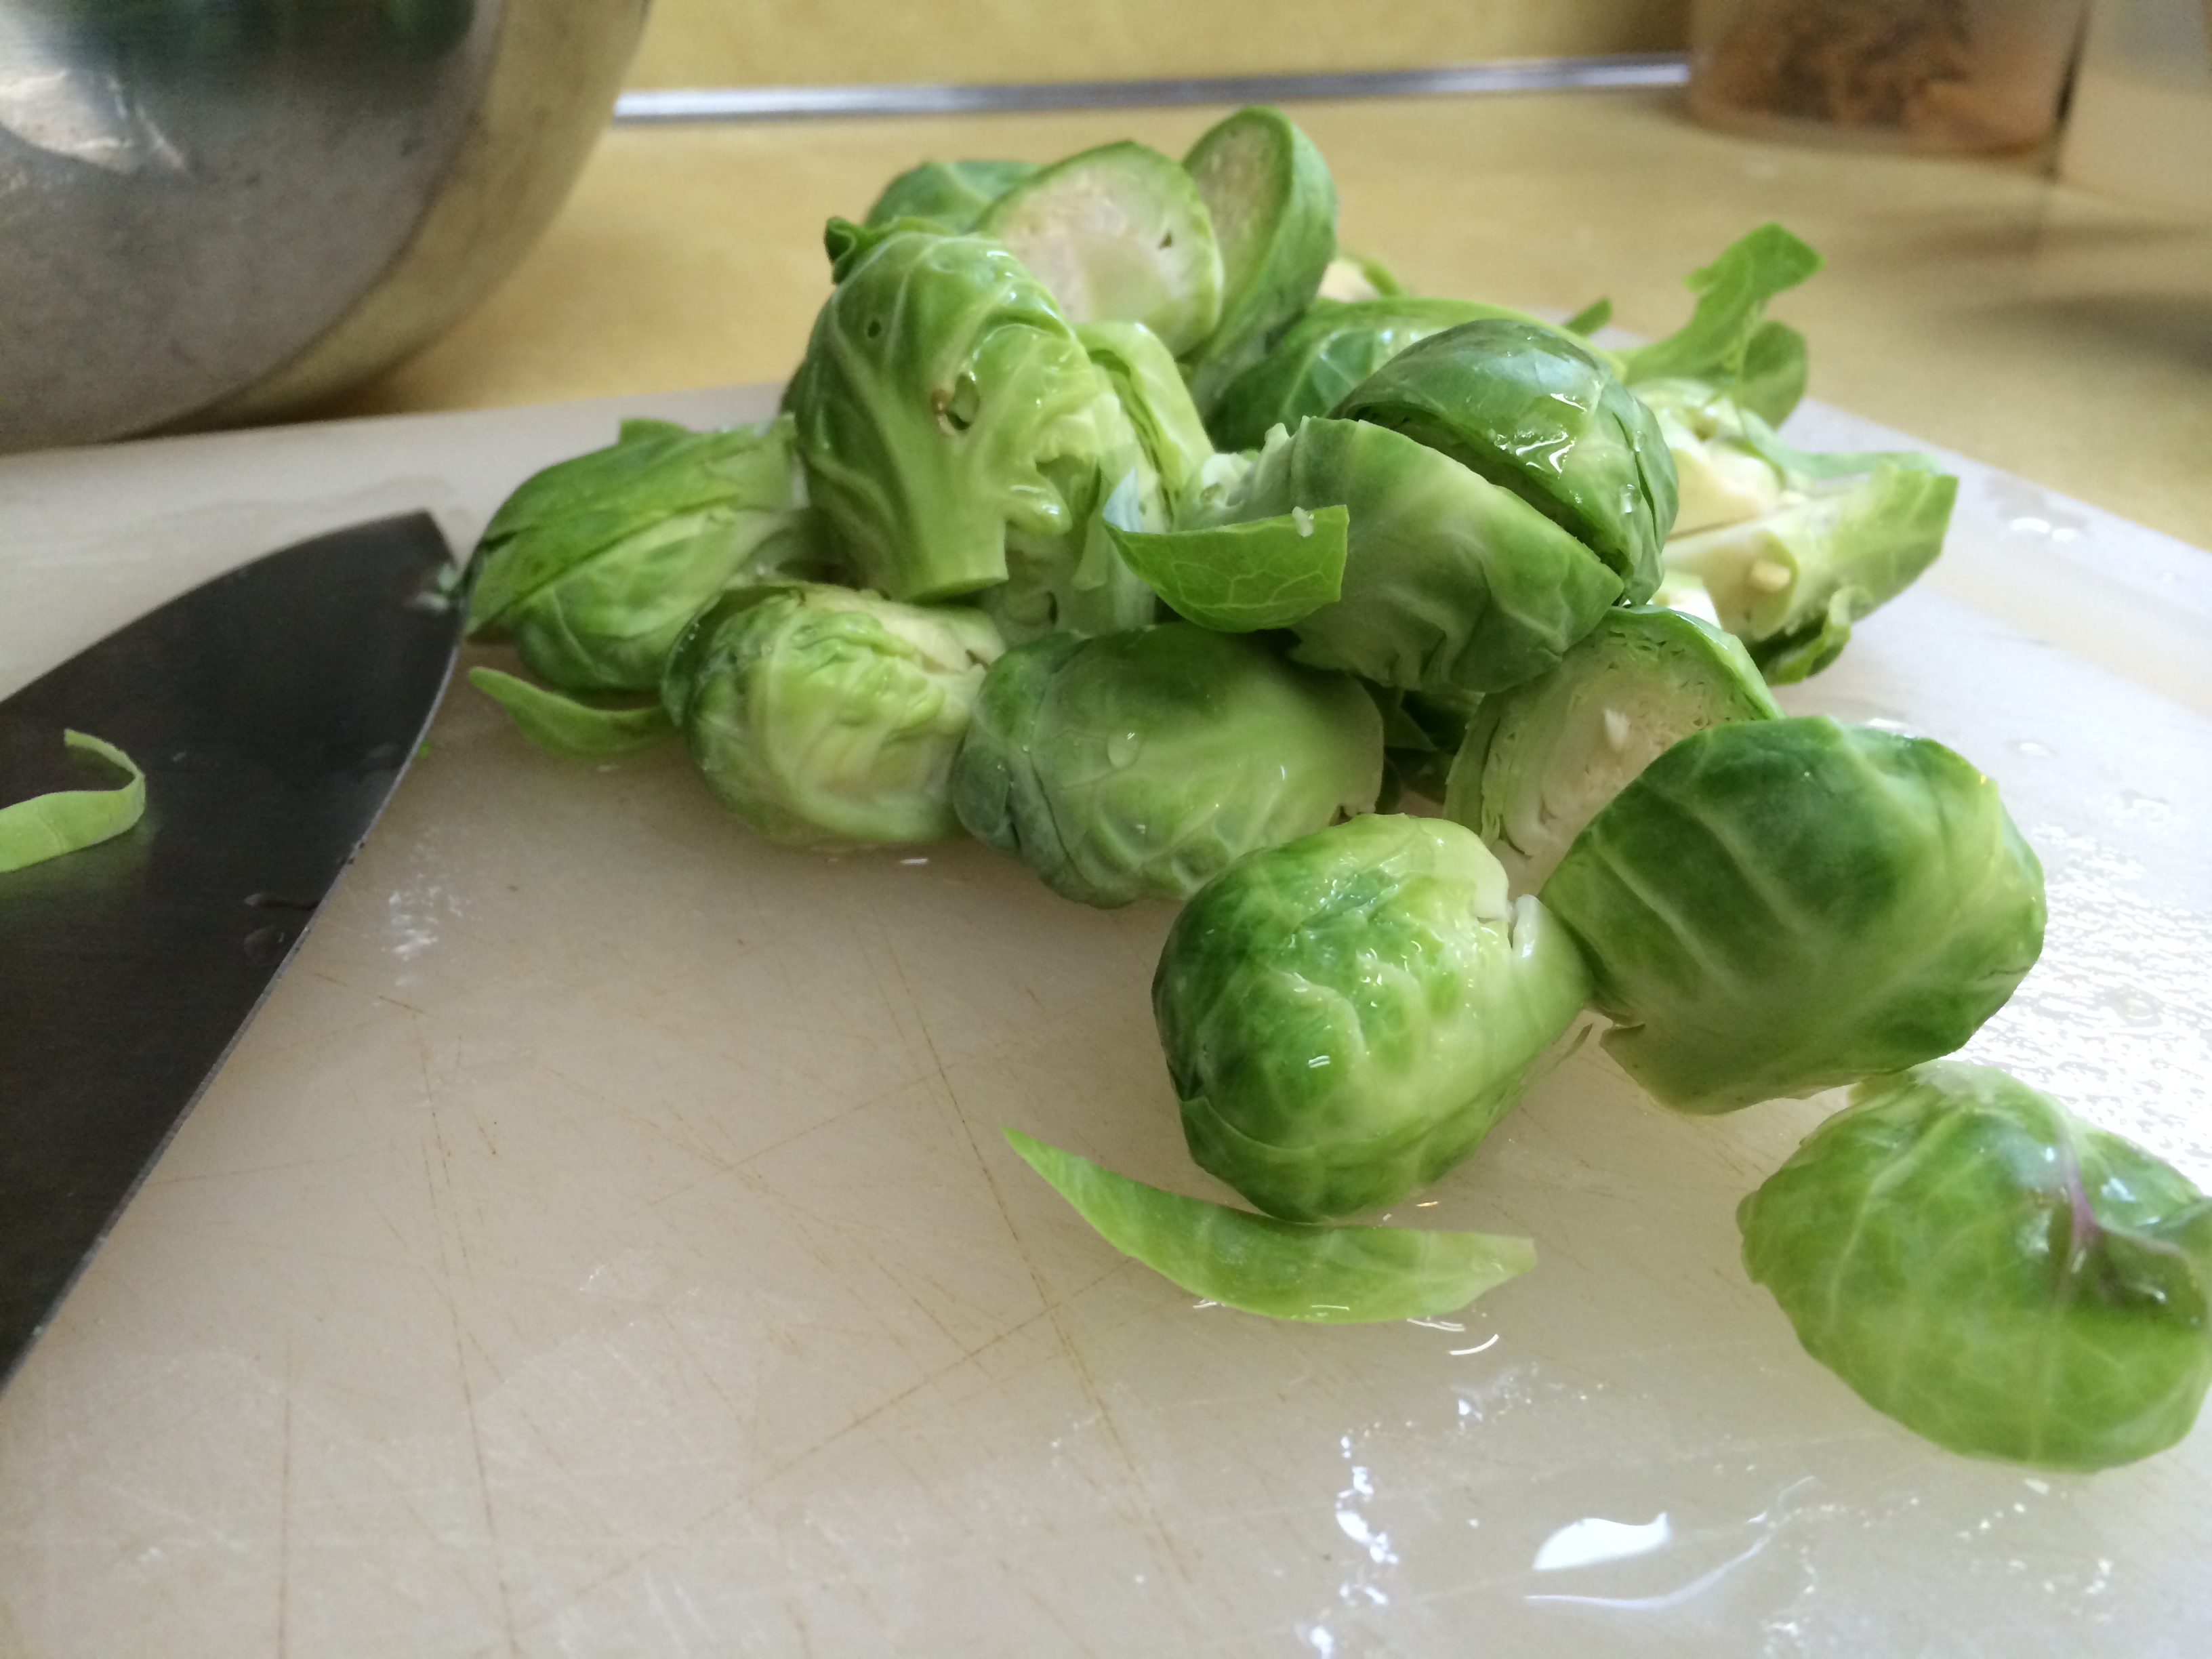
The æbelskiver is a Danish desert which is akin to a pancake ball. Traditionally, they would include a little bit of apple (æbel) inside, but we did not attempt that for our first time out. Not too terribly sweet themselves, these light and deliciously buttery puffballs would go well with jam and powdered sugar. We skipped the jam and just used maple sugar.
Danish Aebelskivers (courtesy Lodge)
Yield: 4 servings
Ingredients
- Mix Dry Ingredients
- 2 Cup
Soft wheat flour (or unbleached flour or half and half) - 1/2 tsp
Salt - 2 tsp
Baking Powder - 1/4 tsp
Baking Soda - 1 tsp
Cinnamon - 2 tbsp
Sugar (we used Maple Sugar) - Mix Wet Ingredients
- 1 3/4 Cup
Buttermilk - 1/4 Cup
Frangelico (Hazelnut Liquor) - 2
Egg Yolks (reserve white in separate bowl) - 1 tsp
Vanilla
Cooking Directions
- After separating the eggs, beat the white until stiff peaks.
- Combine dry and wet ingredients until smooth then gently fold in beaten egg whites.
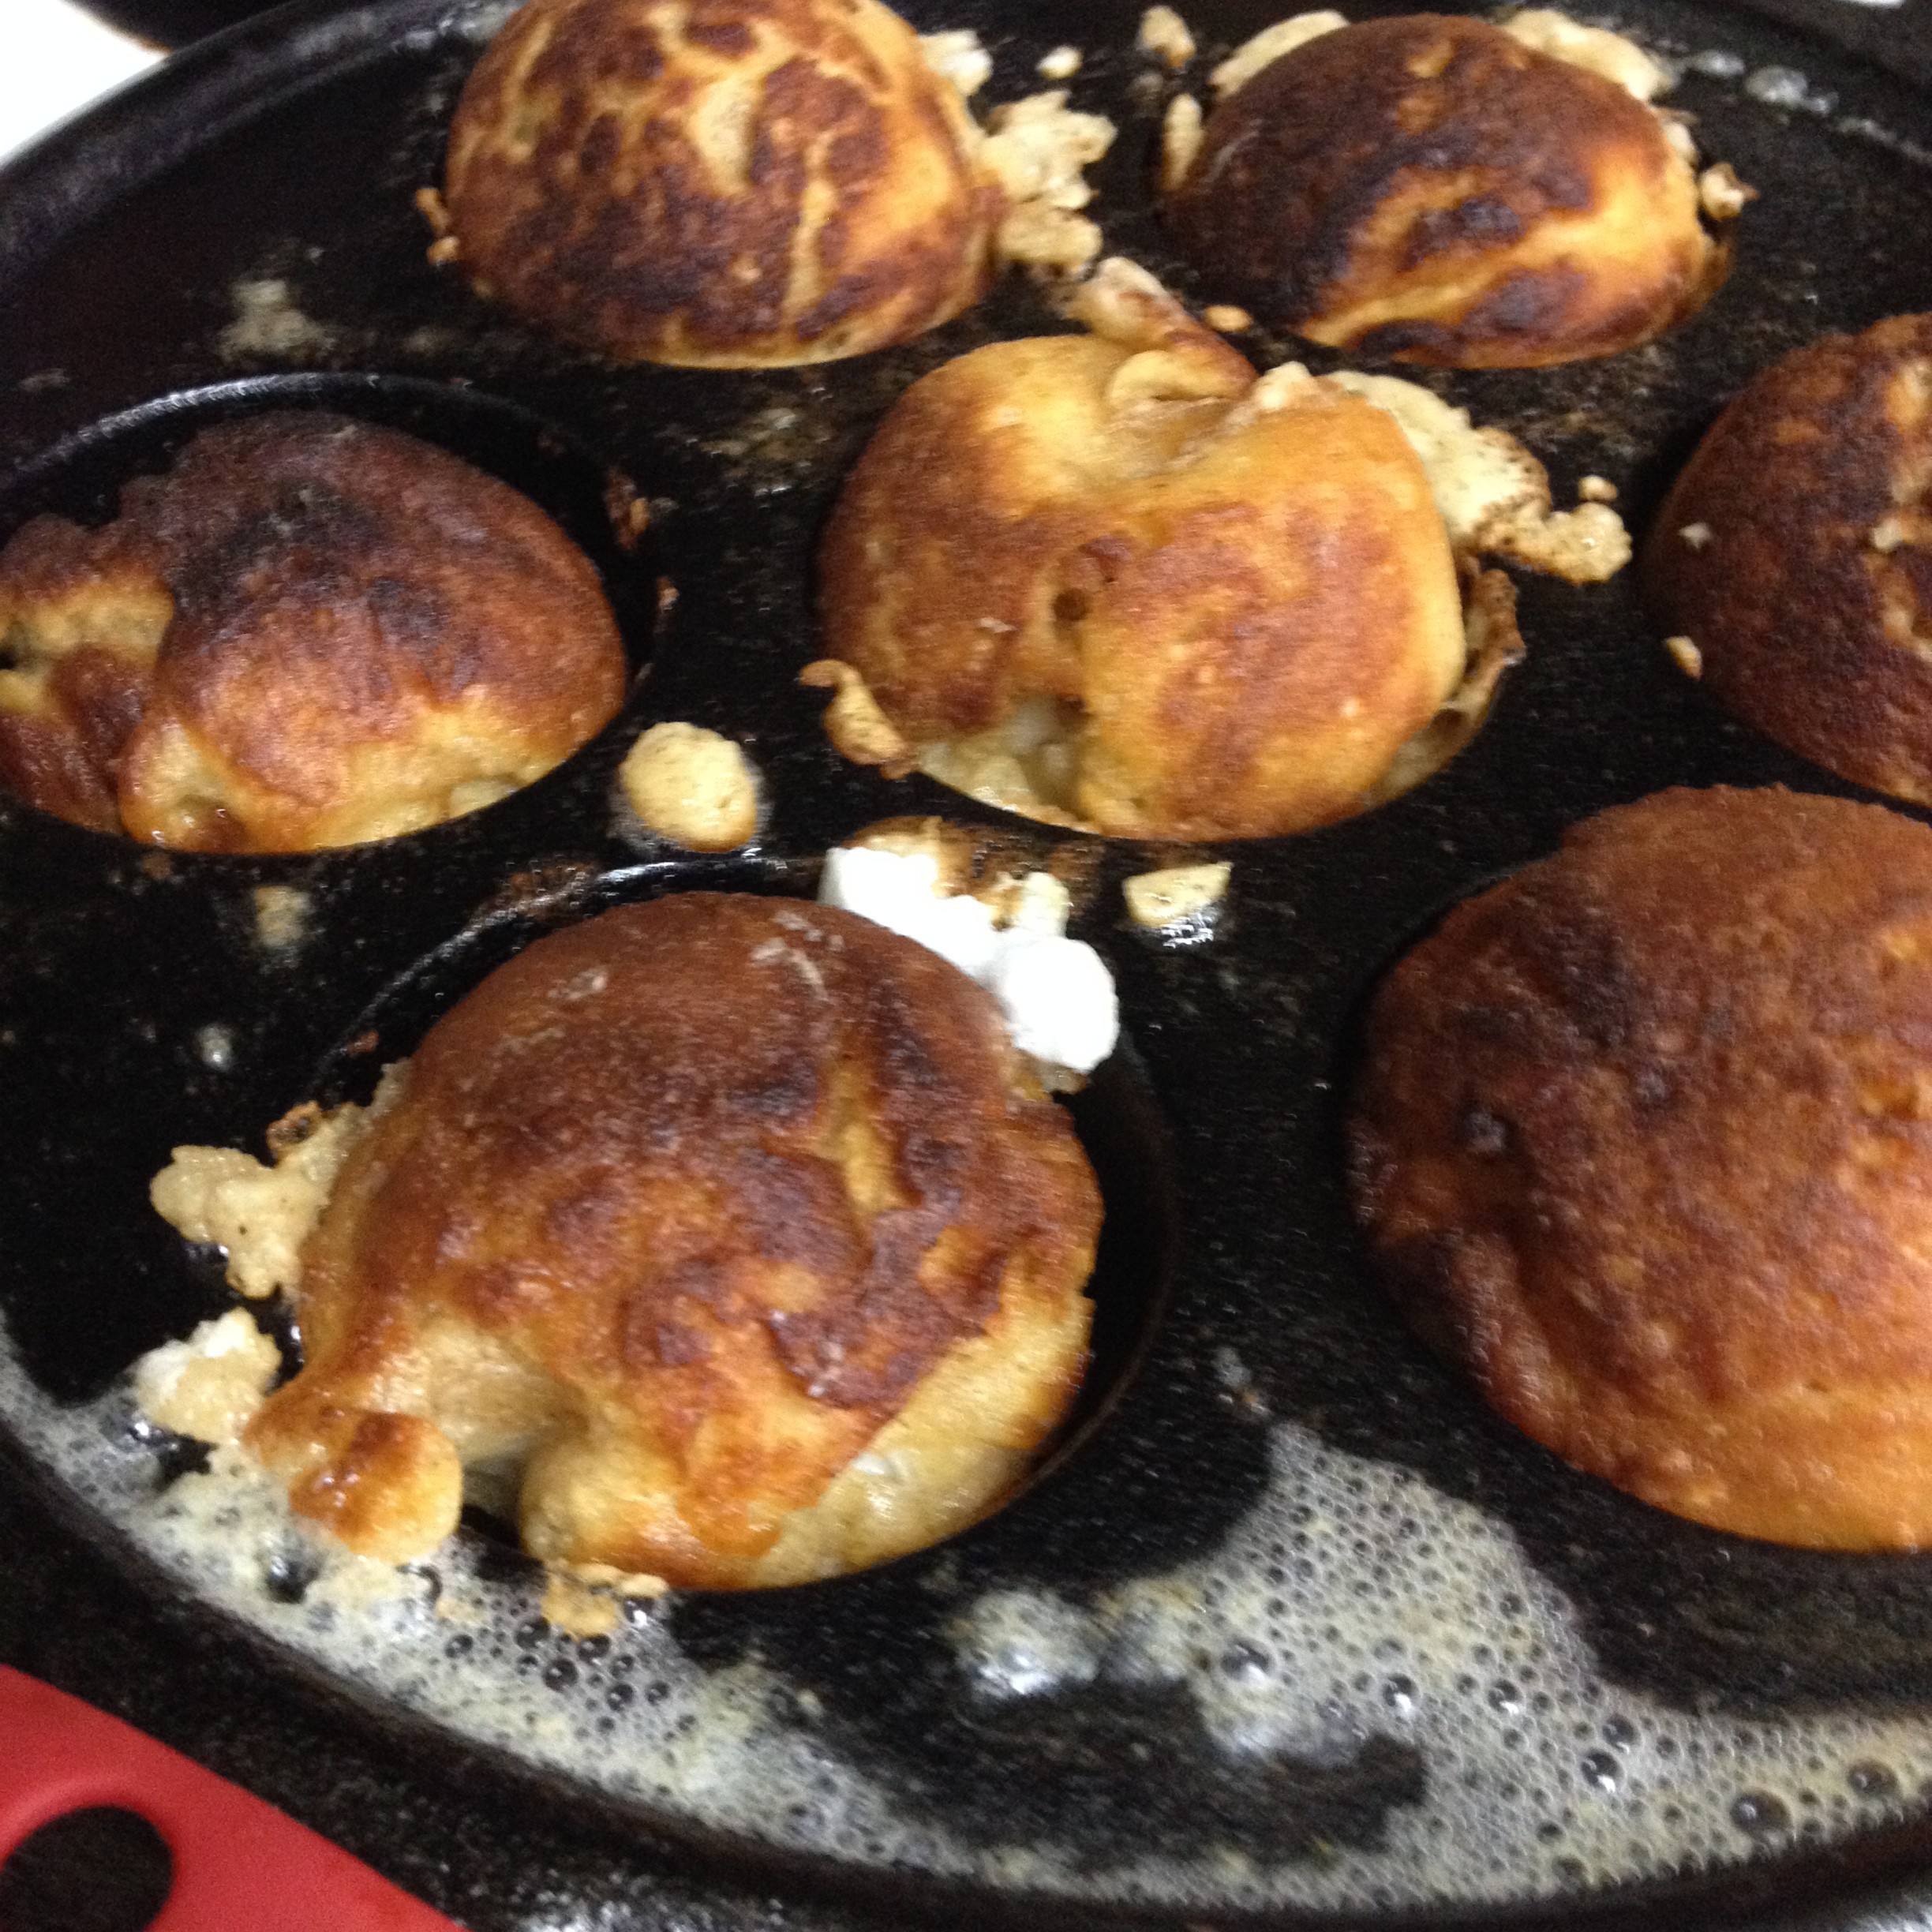
- Bring the aebelskiver pan to medium (or just below) heat and then add 1/2 tsp of butter into each cavity. Once the butter has melted, spoon in enough batter to partially fill the cavity (generously rounded tablespoon).
- Allow the batter to cook until crispy on the sides (the signs to look for are slight bubbling within the batter and cupping). Then use a skewer or chopstick to loosen the aebelskiver from the side of the cavity and spin about a quarter turn.
- Repeat the turning procedure approximately every minute until the outside of the aebelskiver is uniformly golden brown and delicious.
- Remove from the pan, dust with maple sugar, and serve hot!
So buttery!
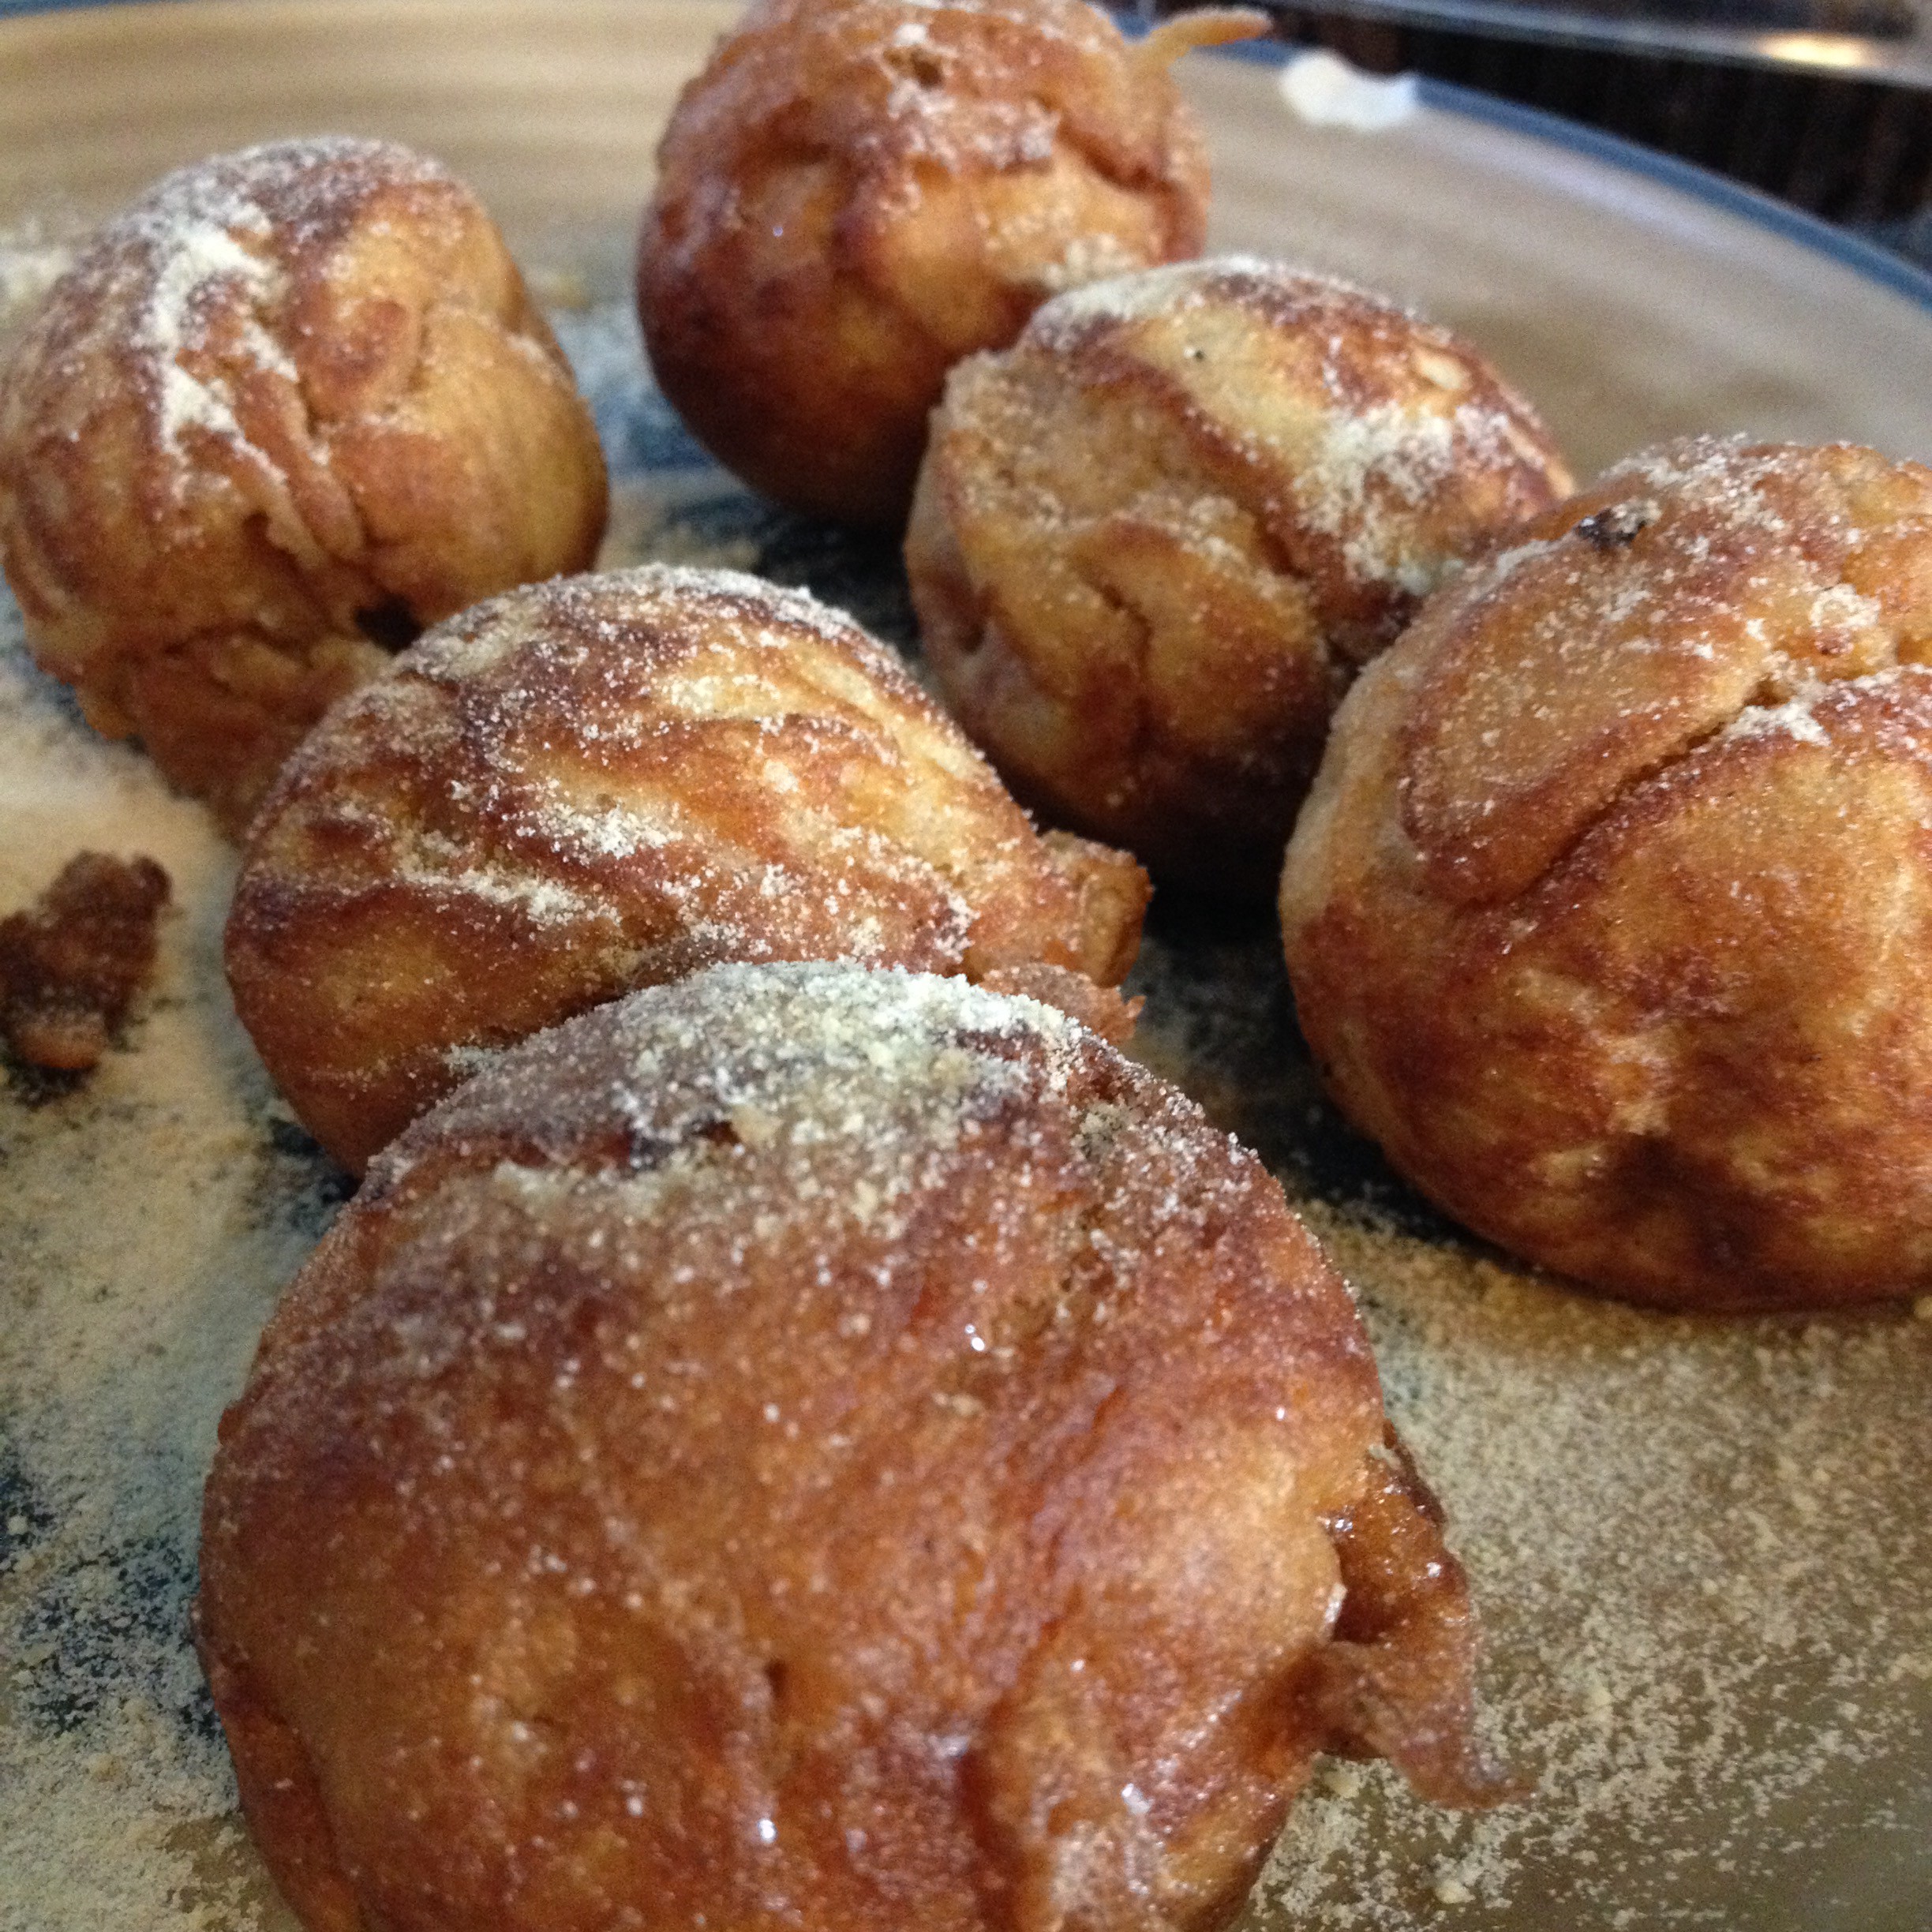
Ready to eat.